
Itel A-Series Screen Flickering While Charging: Safe Troubleshooting Guide And Fix Steps
If an itel A-Series phone flickers only while charging, unplug it first and test the phone on battery power. Then try a known-good compatible charger and cable, inspect the charging port for dirt or moisture, remove accessories that may trap heat, and avoid using the phone heavily while charging. If flickering continues with different charging equipment or occurs even when the charger is disconnected, the display, charging circuit, battery, or another hardware component may need inspection.
Itel A-Series Screen Flickering While Charging: Safe Troubleshooting
If an itel A-Series phone starts flickering when you connect the charger, do not ignore the problem.
Screen flickering during charging can come from the charger, cable, charging connection, electrical interference, heat, software behavior, or a hardware fault.
The safest approach is to determine whether the flickering happens only while the phone is connected to power.
1. Unplug the Charger Immediately
Disconnect the charger when the screen starts flickering.
Check whether the display returns to normal when the phone is running only on battery power.
Flickering stops after unplugging
The charging setup is an important suspect.
Flickering continues after unplugging
The problem may involve the display, software, battery, or another internal component rather than the charger alone.
2. Try a Different Compatible Charger
Use a known-good charger that is compatible with your specific itel A-Series model.
Avoid damaged, unusually hot, or questionable chargers.
Connect the replacement charger and observe the screen.
If the flickering disappears, stop using the original charger.
3. Replace the Charging Cable
A damaged cable can create an unstable charging connection.
Try another known-good compatible cable.
Check the original cable for:
- Fraying
- Bent connectors
- Loose ends
- Burn marks
- Cracked insulation
- Signs of liquid damage
If the screen only flickers with one cable, replace that cable.
4. Inspect the Charging Port
Turn the phone off and inspect the charging port with good lighting.
Look for:
- Dust
- Lint
- Dirt
- Moisture
- Corrosion
- Bent contacts
Do not insert a needle, pin, knife, or other metal object into the charging port.
If the port is wet, disconnect the charger and allow it to dry naturally before attempting to charge again.
5. Stop Heavy Usage While Charging
Do not play demanding games or run intensive applications while testing the problem.
Close unnecessary applications and leave the phone idle with the screen on for a short period.
If the flickering occurs only during heavy use while charging, heat or increased system load may be contributing to the problem.
6. Check Whether the Phone Is Overheating
Touch the back of the phone carefully.
If the device is becoming unusually hot while charging, disconnect it and allow it to cool naturally.
Keep it away from direct sunlight and avoid covering it with blankets or other materials that trap heat.
Do not cool the phone using a refrigerator or freezer.
7. Restart the Phone
Disconnect the charger and restart the itel phone.
After it boots completely, connect the charger again while leaving demanding applications closed.
If the flickering disappears after restarting, monitor the phone to see whether it returns.
8. Check Whether the Flickering Happens Only at Certain Brightness Levels
After disconnecting the charger, change the display brightness.
Then reconnect the charger and observe whether the flickering changes.
If flickering appears only at a particular brightness level, note that behavior.
Do not repeatedly increase brightness to extreme levels just to test the screen.
9. Remove a Damaged or Poorly Fitted Screen Protector
If the screen protector was recently installed and the flickering began around the same time, inspect it for cracks, lifting edges, or other physical problems.
A screen protector normally should not cause charging-related flickering, so do not assume it is the cause without testing.
If the protector is bonded to the display or difficult to remove, leave its removal to a qualified technician.
10. Check for a System Update
Open the phone's software-update settings and check for an official update.
If an update is available, install it and restart the phone.
If the flickering started immediately after a software update, record the software version and check whether another official update becomes available.
Avoid installing unofficial firmware as a first troubleshooting step.
11. Test the Phone While Switched Off
Switch the phone off completely.
Connect a known-good compatible charger.
Observe whether the screen shows unusual flickering while charging.
If the display behaves normally when switched off but flickers when the operating system is running, software, display settings, or system activity may be involved.
If there is obvious abnormal display behavior even while switched off, hardware should be considered.
12. Check for Physical Damage
Inspect the display and phone body for:
- Cracks
- Black spots
- Lines
- Previous impact damage
- Liquid exposure
- A loose screen
- A recently replaced display
If the screen was replaced shortly before the flickering began, return to the repair technician and explain that the problem started after the replacement.
Do Not Keep Using a Suspected Faulty Charger
If the charger becomes extremely hot, produces a burning smell, makes unusual sounds, has visible damage, or causes repeated electrical behavior such as flickering, stop using it.
Do not continue testing a suspicious charger simply to confirm the problem.
When the Problem Needs Professional Inspection
Have the phone checked if:
- The screen flickers with multiple known-good chargers.
- Flickering continues when the charger is disconnected.
- The phone becomes unusually hot.
- The charging port is damaged.
- The phone has been exposed to liquid.
- The display was recently replaced.
- The charger repeatedly starts and stops charging.
- The screen develops lines, black areas, or permanent flickering.
The fault could involve the display, battery, charging port, charging circuit, or another internal component.
Final Fix
Start by unplugging the charger and checking whether the flickering immediately stops.
Then test a known-good compatible charger and cable, inspect the charging port, keep the phone cool, restart it, and test charging without heavy applications running.
If the flickering disappears with another charger or cable, replace the faulty charging equipment.
If the screen continues flickering with different charging equipment or also flickers while running on battery power, stop repeated charging tests and have the phone professionally inspected.
Qevra Directory
For access to the URLs related to this post:
Never miss a tech solution from FlamesNova
Make FlamesNova your trusted and preferred source on Google Search
All factual claims and technical steps are cited and verified against direct documentation.
Contribution: Grounding reference for verified reporting.
Related How-To Guides
Android Phone Stuck at 0% or 1% Charging All Night: How to Fix
If an Android phone remains at 0% or 1% after charging all night, first stop repeatedly trying to power it on. Test a known-good compatible charger and cable, inspect the charging port, let the phone cool, and leave it charging while switched off. If it remains at 0% or 1%, try a forced restart. If the phone still cannot increase its battery level with known-good charging equipment, the battery, charging port, or charging circuit may require professional inspection.
Phone Battery Percentage Dropping While Connected to Charger: 5 Direct Fixes
If your phone battery percentage keeps dropping while it is connected to a charger, the charger may be supplying less power than the phone is consuming. Test another compatible charger and cable, stop demanding apps, check for overheating, inspect the charging port, and test charging while the phone is switched off. If the percentage continues falling with known-good charging equipment, the battery or charging hardware may need inspection.
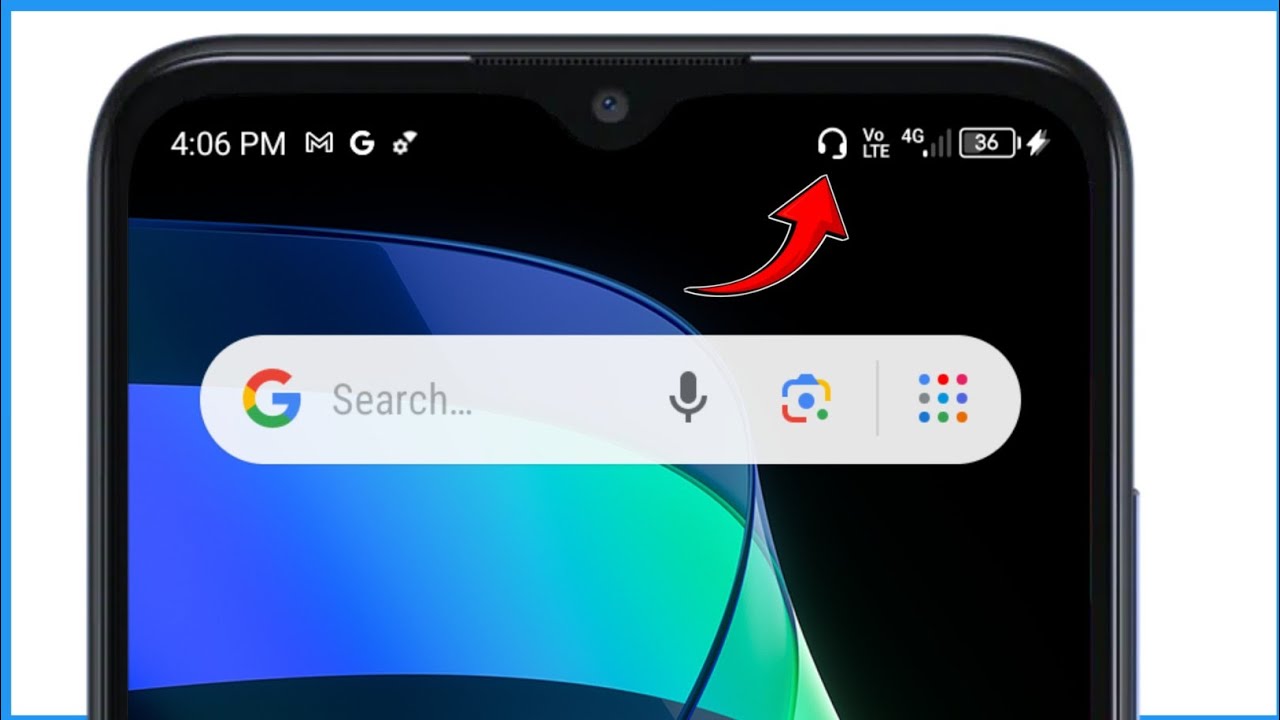
Infinix Earphone Mode Stuck on Screen: How to Disable Without Repair
If an Infinix phone remains in earphone mode after headphones have been removed, restart the phone, reconnect and disconnect the headphones once, check the headphone jack or USB-C port for dirt or moisture, and clear the affected audio app's cache. If the headphone icon remains after a clean port, restart, and software checks, the phone may be incorrectly detecting a connected headset because of a port or sensor fault.