
Android Phone Stuck at 0% or 1% Charging All Night: How to Fix
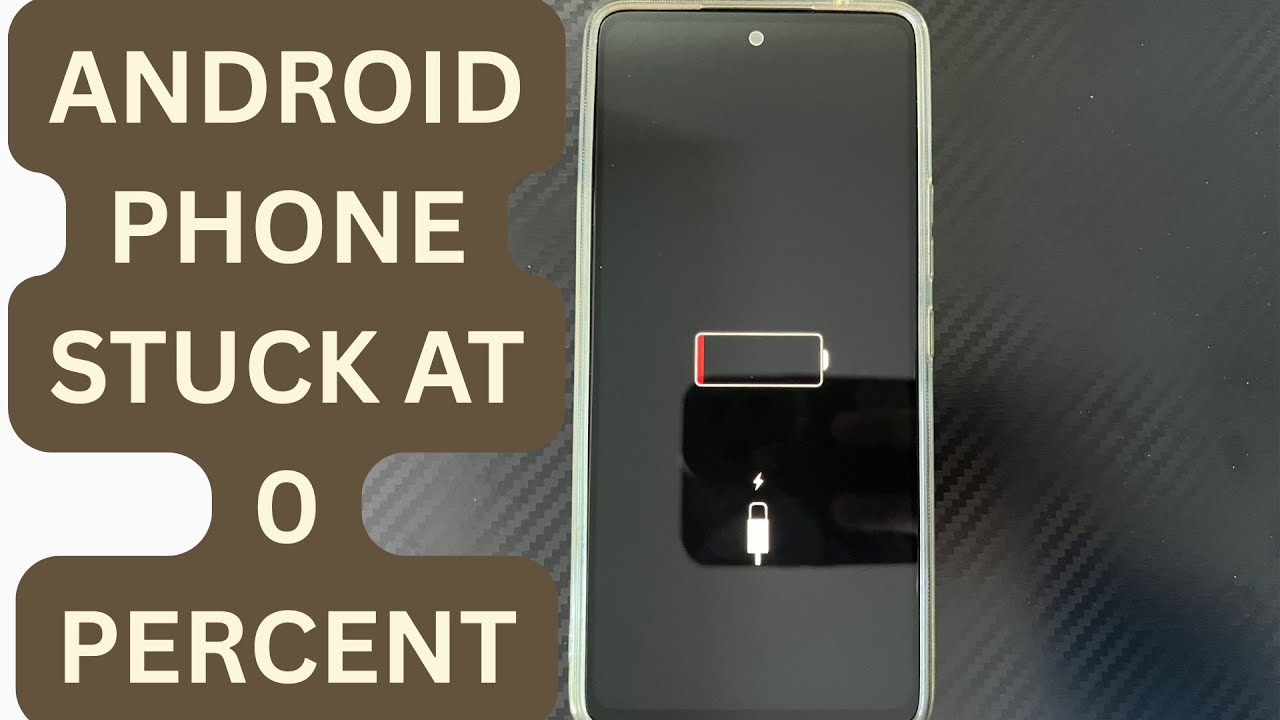
If an Android phone remains at 0% or 1% after charging all night, first stop repeatedly trying to power it on. Test a known-good compatible charger and cable, inspect the charging port, let the phone cool, and leave it charging while switched off. If it remains at 0% or 1%, try a forced restart. If the phone still cannot increase its battery level with known-good charging equipment, the battery, charging port, or charging circuit may require professional inspection.
Android Phone Stuck at 0% or 1% Charging All Night: How to Fix
If an Android phone remains at 0% or 1% after being connected to a charger all night, the phone is either receiving very little usable power or the battery is not being charged correctly.
Do not repeatedly turn the phone on and off while it is at 0%. Start by checking the charging equipment and connection.
1. Use a Different Charger and Cable
Disconnect the current charger.
Use a known-good compatible charger and cable.
Connect the phone and leave it charging while switched off for at least 30 minutes.
If the battery begins moving above 0% or 1%, the original charger or cable may be faulty.
Do not use a damaged adapter or cable that becomes unusually hot.
2. Check the Charging Port
Turn the phone off and inspect the charging port with good lighting.
Look for:
- Dust
- Lint
- Dirt
- Moisture
- Corrosion
- Bent contacts
A blocked port can prevent the charging cable from making proper contact.
Do not use a needle, pin, knife, or other metal object to clean the port.
If moisture is present, disconnect the charger and allow the phone to dry completely before charging again.
3. Leave the Phone Switched Off While Charging
Do not keep pressing the power button to check whether the phone has gained battery.
Connect the known-good charger and leave the phone switched off for 30–60 minutes.
Then try turning it on once.
If the phone starts normally and the percentage has increased, continue charging it without heavy use.
4. Perform a Forced Restart
If the phone remains stuck at 0% or 1% but appears to be charging, perform a forced restart.
The exact button combination depends on the Android manufacturer.
A common method is to hold the Power button and Volume Down button together for around 10–20 seconds.
If that does not work, check the manufacturer's instructions for the exact model.
Do not repeatedly perform forced restarts while the battery is critically low.
5. Try a Different Power Source
If another charger does not solve the problem, connect the charger to a different reliable power outlet.
You can also test another compatible power source.
Avoid relying on a damaged extension socket, loose outlet, or questionable power adapter.
If the phone charges normally from another power source, the original power source or adapter may be responsible.
6. Check Whether the Phone Is Getting Hot
A phone that becomes unusually hot while remaining at 0% or 1% should not be left charging unattended.
Disconnect it and allow it to cool naturally.
Do not put the phone in a refrigerator or freezer.
After it cools, test it again with a known-good charger and cable.
7. Remove Heavy Accessories While Testing
Disconnect unnecessary USB accessories and remove anything that may be drawing power from the phone.
If the phone supports USB accessories, a connected device can consume power while the battery is critically low.
Leave only the charger connected during the test.
8. Try Charging the Phone While It Is Completely Powered Off
This is an important diagnostic test.
If the phone reaches a higher percentage while switched off, excessive power consumption or software activity while Android is running may be contributing to the problem.
If it remains at 0% or 1% even while switched off, investigate the charging equipment, port, battery, and charging hardware.
9. Do Not Try to "Jumpstart" the Battery With Another Battery
Do not connect the phone's battery directly to another battery, power supply, exposed wires, or an improvised voltage source.
A lithium-ion phone battery requires the correct charging and protection circuitry.
Improvised charging can damage the battery and create a fire hazard.
Use the phone's normal compatible charging system.
10. Consider a Deeply Discharged Battery
If the phone was completely dead for a long period before you connected the charger, the battery may be deeply discharged.
Connect a known-good compatible charger and leave the phone undisturbed for a while.
Do not repeatedly press the power button.
If the battery still remains at 0% or 1% after extended charging, the problem may not be simple deep discharge.
11. Check for a Failing Battery
A degraded battery can cause the percentage to remain stuck or behave incorrectly.
Other warning signs include:
- Battery percentage suddenly dropping.
- Phone shutting down unexpectedly.
- Very short battery life.
- Excessive heat.
- Battery percentage jumping between values.
- Phone shutting down immediately after unplugging the charger.
If the battery is swollen, leaking, physically damaged, or producing unusual heat, stop charging the phone.
12. Check the Charging Port and Charging Circuit
If different known-good chargers and cables produce the same result, the charging port or internal charging hardware may be faulty.
This becomes more likely when:
- The cable feels loose.
- Charging repeatedly connects and disconnects.
- Charging only works at a particular angle.
- The phone was recently dropped.
- The phone was exposed to liquid.
- The phone remains at 0% even when switched off.
A qualified technician should test the charging port, battery, and charging circuit rather than replacing parts blindly.
Final Fix
Start by using a known-good compatible charger and cable.
Inspect the charging port, leave the phone switched off while charging, and try a different reliable power source.
If necessary, perform the correct forced restart for the phone model.
Do not attempt to jumpstart the internal battery with wires or another battery.
If the phone remains at 0% or 1% after these tests, especially when switched off and connected to known-good charging equipment, the battery or charging hardware may need professional diagnosis.
Qevra Directory
For access to the URLs related to this post:
Never miss a tech solution from FlamesNova
Make FlamesNova your trusted and preferred source on Google Search
All factual claims and technical steps are cited and verified against direct documentation.
Contribution: Grounding reference for verified reporting.
Contribution: Grounding reference for verified reporting.
Contribution: Grounding reference for verified reporting.
Contribution: Grounding reference for verified reporting.
Related How-To Guides
Phone Battery Percentage Dropping While Connected to Charger: 5 Direct Fixes
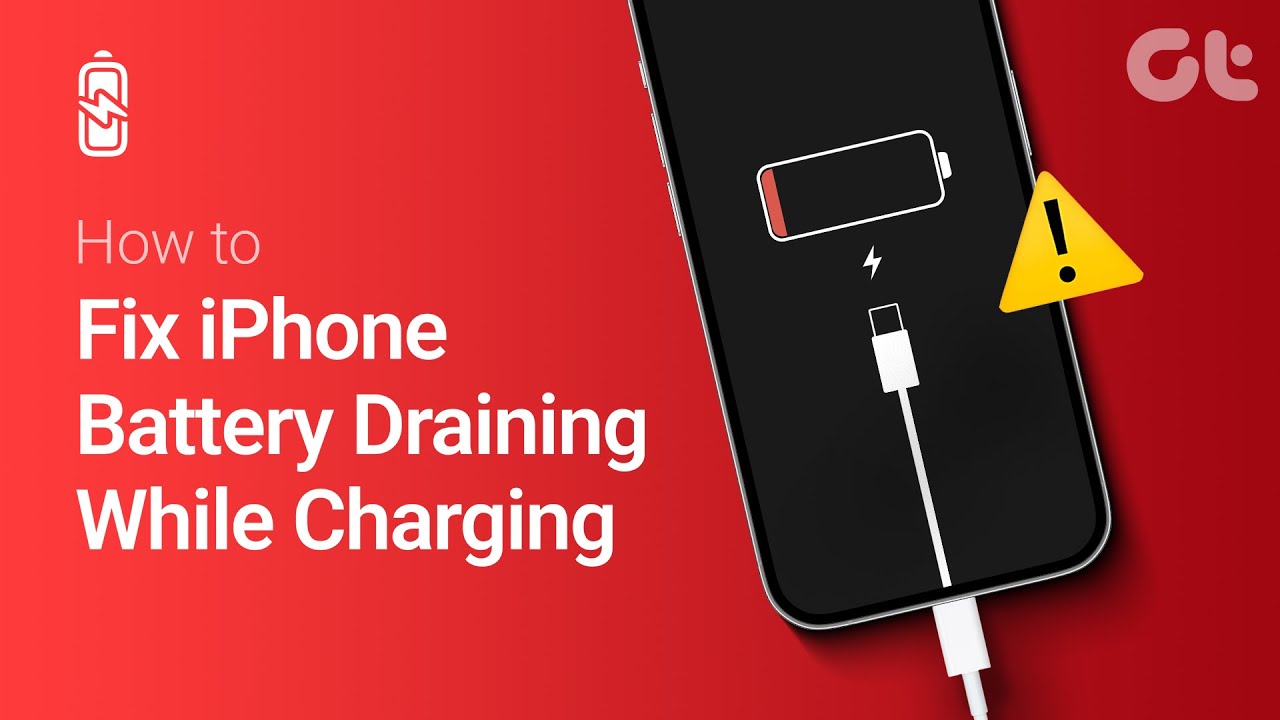
If your phone battery percentage keeps dropping while it is connected to a charger, the charger may be supplying less power than the phone is consuming. Test another compatible charger and cable, stop demanding apps, check for overheating, inspect the charging port, and test charging while the phone is switched off. If the percentage continues falling with known-good charging equipment, the battery or charging hardware may need inspection.
Itel A-Series Screen Flickering While Charging: Safe Troubleshooting Guide And Fix Steps
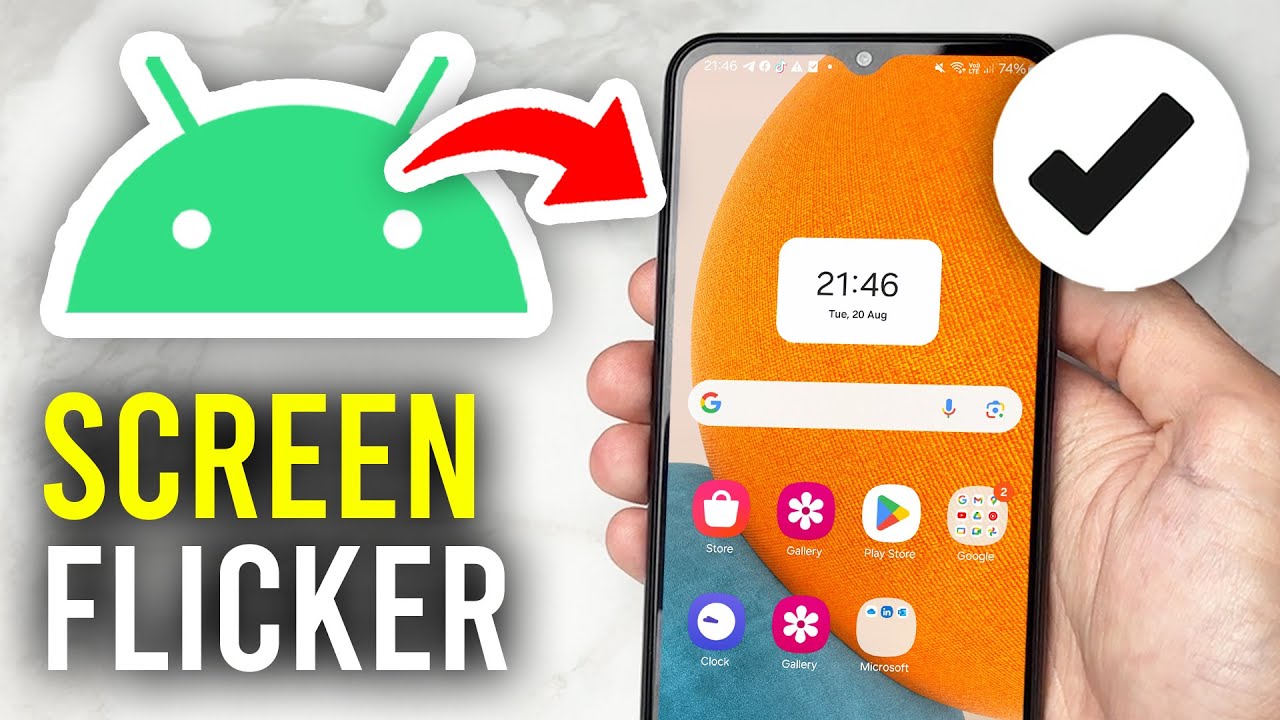
If an itel A-Series phone flickers only while charging, unplug it first and test the phone on battery power. Then try a known-good compatible charger and cable, inspect the charging port for dirt or moisture, remove accessories that may trap heat, and avoid using the phone heavily while charging. If flickering continues with different charging equipment or occurs even when the charger is disconnected, the display, charging circuit, battery, or another hardware component may need inspection.
Infinix Earphone Mode Stuck on Screen: How to Disable Without Repair
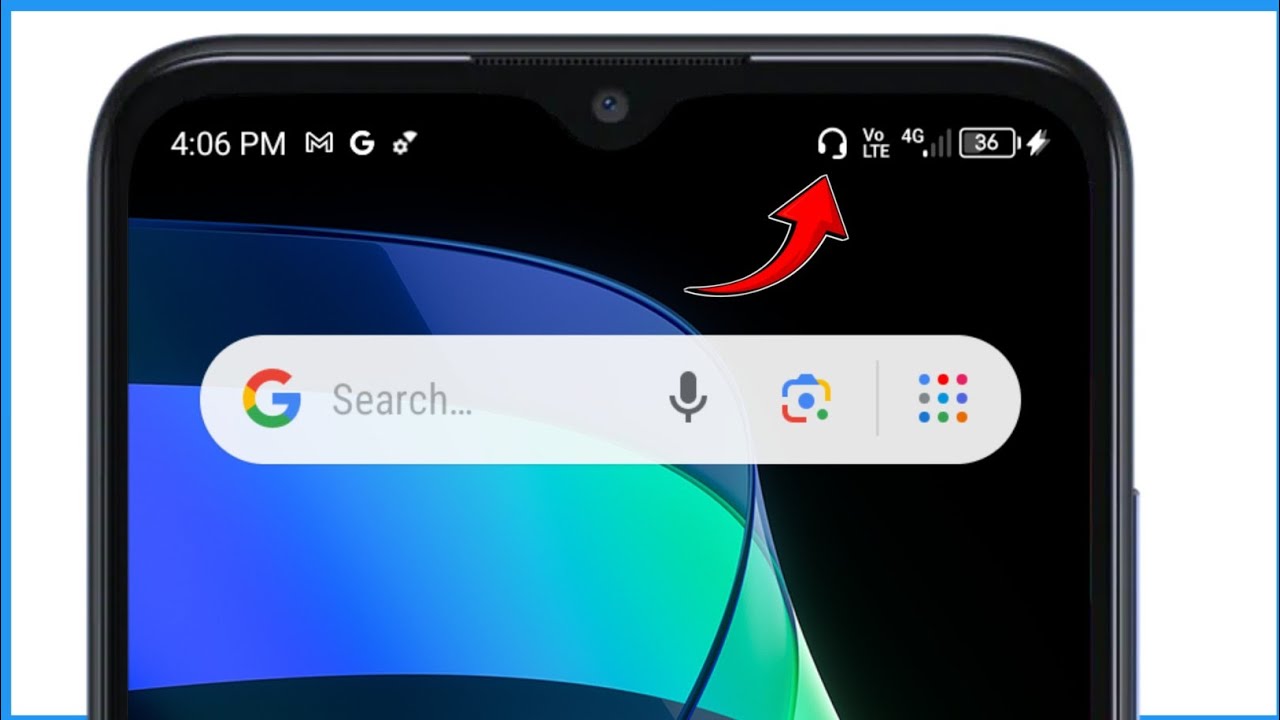
If an Infinix phone remains in earphone mode after headphones have been removed, restart the phone, reconnect and disconnect the headphones once, check the headphone jack or USB-C port for dirt or moisture, and clear the affected audio app's cache. If the headphone icon remains after a clean port, restart, and software checks, the phone may be incorrectly detecting a connected headset because of a port or sensor fault.