
Infinix Earphone Mode Stuck on Screen: How to Disable Without Repair
If an Infinix phone remains in earphone mode after headphones have been removed, restart the phone, reconnect and disconnect the headphones once, check the headphone jack or USB-C port for dirt or moisture, and clear the affected audio app's cache. If the headphone icon remains after a clean port, restart, and software checks, the phone may be incorrectly detecting a connected headset because of a port or sensor fault.
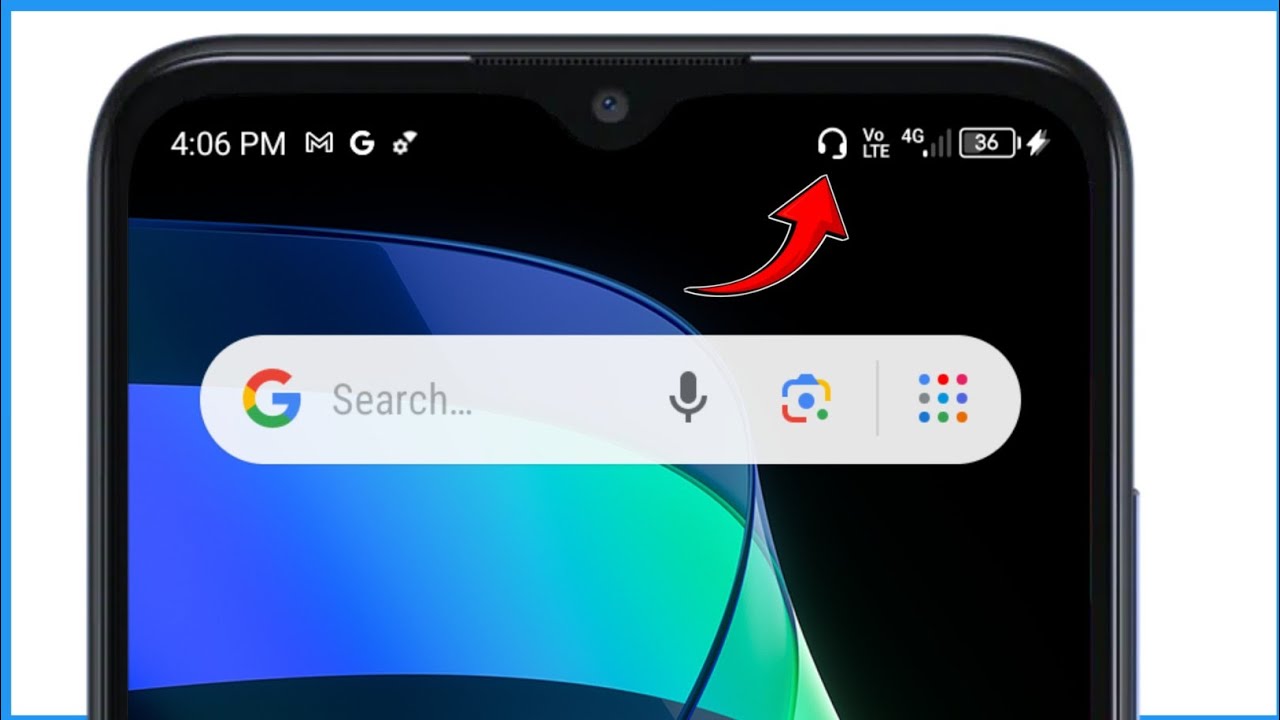
Infinix Earphone Mode Stuck on Screen: How to Disable Without Repair
If your Infinix phone keeps showing the earphone or headset icon after you unplug your headphones, the phone is still detecting a headset connection.
This can happen because of a temporary software error, dirt or moisture inside the headphone jack or USB-C port, a poor connection, or a damaged port.
Try these fixes before taking the phone for repair.
1. Reconnect and Remove the Earphones
Plug the earphones back into the phone.
Wait a few seconds.
Then remove them normally.
Check whether the earphone icon disappears.
If the icon disappears after reconnecting and disconnecting the earphones, the phone's headset detection may have simply become stuck.
2. Restart the Infinix Phone
Remove the earphones and restart the phone.
After the phone boots completely, check the status bar.
If the earphone icon has disappeared, test the speaker by playing a video or audio file.
A restart can clear a temporary audio-routing process that remains active after the headset is disconnected.
3. Check the Headphone Jack
If your Infinix model has a 3.5 mm headphone jack, inspect it with a light.
Look for:
- Dust
- Lint
- Moisture
- Dirt
- Corrosion
- Foreign objects
Even a small amount of debris can interfere with headset detection.
Do not insert a needle, pin, knife, or other metal object into the jack.
If the jack is wet, leave the phone disconnected and allow it to dry completely.
4. Check the USB-C Port
If your Infinix model uses USB-C headphones or an adapter, inspect the USB-C port instead.
Look for dust, lint, moisture, or damage.
A USB-C port can also affect audio detection if the phone incorrectly detects an accessory as connected.
Do not force anything into the port.
5. Turn Bluetooth Off Temporarily
Open the phone's Bluetooth settings and turn Bluetooth off temporarily.
This prevents the phone from routing audio to a previously connected wireless headset or speaker while you troubleshoot the earphone icon.
Then play audio through the phone's built-in speaker.
If the speaker works after Bluetooth is disabled, the issue may be audio routing rather than a stuck physical headphone detection state.
6. Check the Volume and Audio Output
Press the volume buttons and check the audio output options if your XOS version provides them.
Select the phone's built-in speaker when available.
Then play a video or audio file.
If the phone still routes all audio to headphones even though nothing is connected, continue with the next steps.
7. Clear the Affected App's Cache
If the problem only happens inside one application, the application may be retaining an incorrect audio state.
Open:
Settings > Apps > App management > [Affected App] > Storage
Select:
Clear cache
Then reopen the application and test audio again.
Do not clear application data unless necessary because it can remove locally stored settings or information.
8. Restart After Disconnecting All Audio Accessories
Disconnect:
- Wired earphones
- USB-C audio adapters
- Bluetooth headphones
- External speakers
Then restart the phone.
After it boots, leave all audio accessories disconnected and check whether the earphone icon remains.
This helps determine whether the phone is still detecting a physical accessory.
9. Check for a Software Update
Open the system-update section on the Infinix phone and check for an official XOS update.
If an update is available, install it and restart the phone.
A software update may resolve audio-routing or accessory-detection problems.
Do not install unofficial firmware simply to remove the headphone icon.
10. Check Whether the Phone Recently Got Wet
If the phone was exposed to rain, water, sweat, or another liquid, moisture inside the headphone jack or USB-C port can cause false accessory detection.
Disconnect the charger and headphones.
Allow the phone and port to dry naturally.
Do not use a hair dryer or apply direct high heat.
Do not insert objects into the port to absorb moisture.
11. Test the Speaker
After disconnecting all accessories, play an audio or video file.
Speaker produces sound normally
The icon may be a software display problem or a particular app's audio-routing issue.
No sound from the speaker
The phone may still be routing audio to the detected headset, or there may be a broader audio problem.
Continue with the software checks and restart the phone.
12. When You Can Fix It Without Repair
You may be able to clear the problem without hardware repair if it is caused by:
- Temporary software behavior
- Incorrect audio routing
- Bluetooth audio connection
- Dirt around the connector
- Moisture that has not caused permanent damage
- An application-specific audio problem
The safest approach is to reconnect and disconnect the accessory, restart the phone, check the port, disable Bluetooth temporarily, and update XOS.
When the Port May Actually Be Faulty
If the earphone icon remains permanently after:
- Restarting the phone
- Disconnecting all accessories
- Checking Bluetooth
- Checking the headphone jack or USB-C port
- Allowing moisture to dry
- Installing available system updates
the phone may have a damaged headphone jack, USB-C port, or accessory-detection circuit.
This is especially likely if the problem started after the phone was dropped, exposed to liquid, or had something forced into the port.
Final Fix
Start by reconnecting and removing the earphones once, then restart the Infinix phone.
If the icon remains, inspect the headphone jack or USB-C port for dirt or moisture, temporarily disable Bluetooth, clear the affected app's cache, and install any available official XOS update.
If the phone continues detecting headphones when absolutely nothing is connected, the problem may be caused by the port or its detection hardware. At that point, software fixes may not be enough.
Qevra Directory
For access to the URLs related to this post:
Never miss a tech solution from FlamesNova
Make FlamesNova your trusted and preferred source on Google Search
All factual claims and technical steps are cited and verified against direct documentation.
Contribution: Grounding reference for verified reporting.
Contribution: Grounding reference for verified reporting.
Contribution: Grounding reference for verified reporting.
Contribution: Grounding reference for verified reporting.
Related How-To Guides
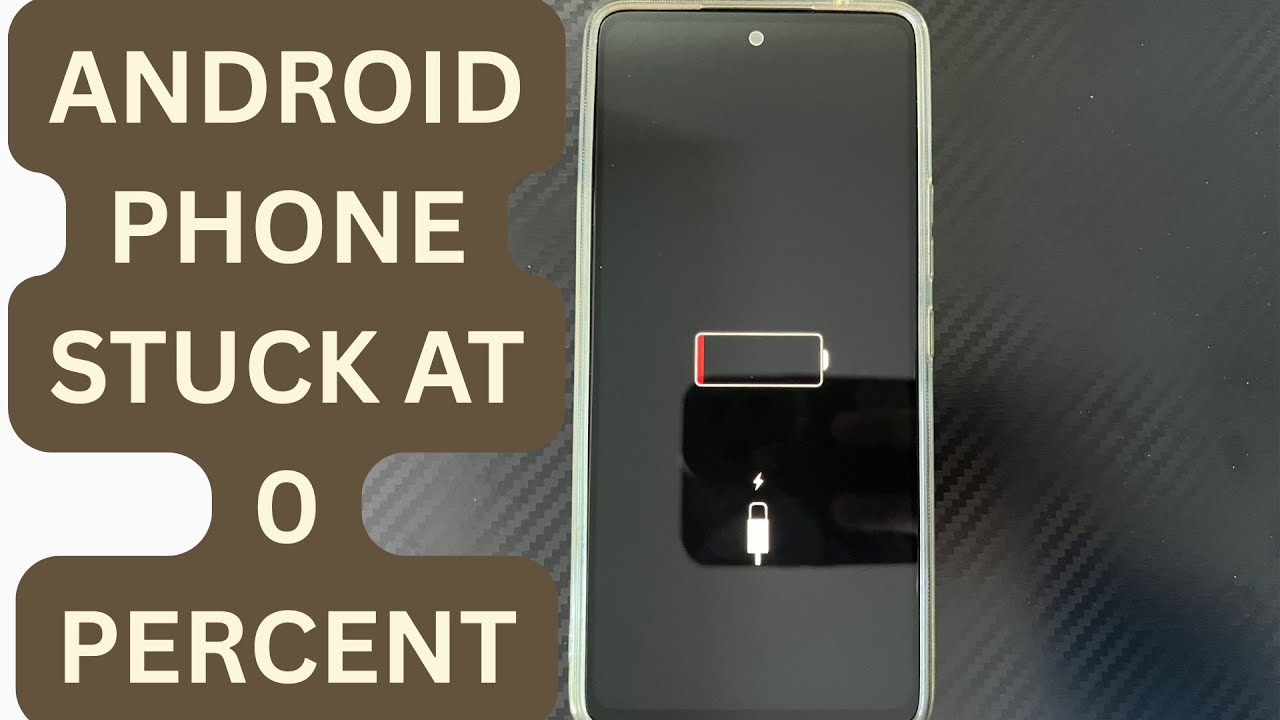
Android Phone Stuck at 0% or 1% Charging All Night: How to Fix
If an Android phone remains at 0% or 1% after charging all night, first stop repeatedly trying to power it on. Test a known-good compatible charger and cable, inspect the charging port, let the phone cool, and leave it charging while switched off. If it remains at 0% or 1%, try a forced restart. If the phone still cannot increase its battery level with known-good charging equipment, the battery, charging port, or charging circuit may require professional inspection.
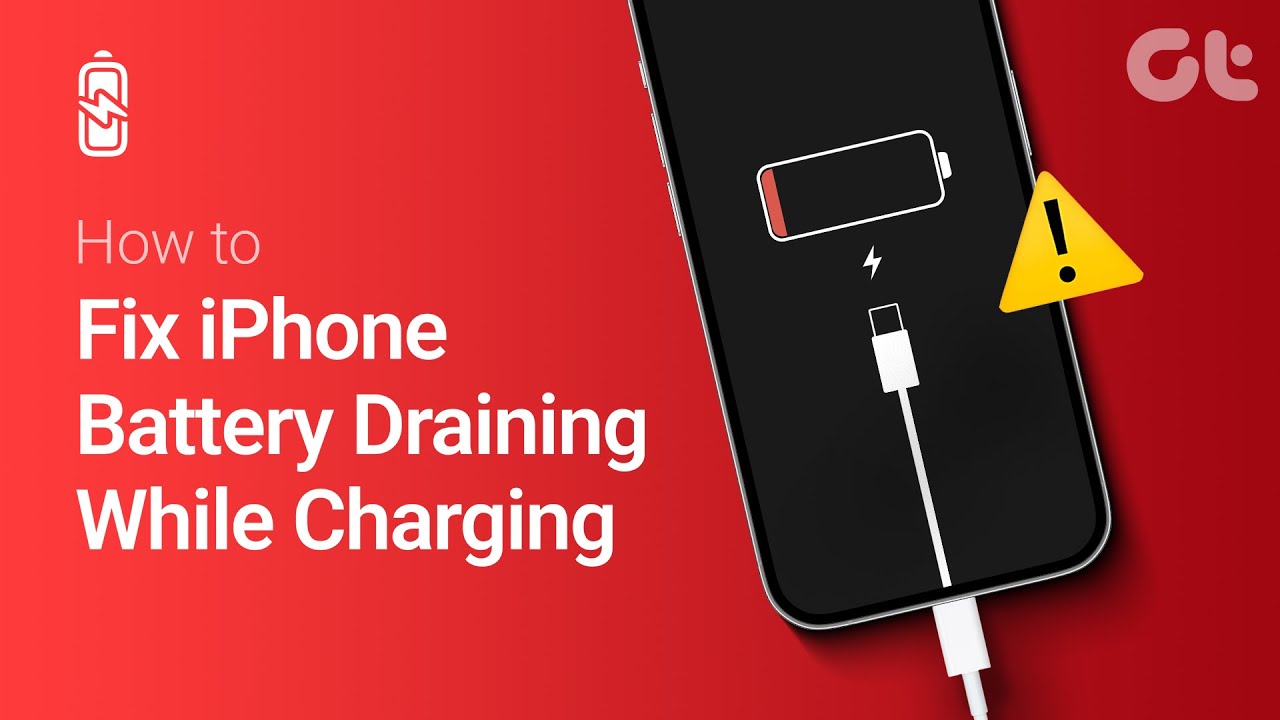
Phone Battery Percentage Dropping While Connected to Charger: 5 Direct Fixes
If your phone battery percentage keeps dropping while it is connected to a charger, the charger may be supplying less power than the phone is consuming. Test another compatible charger and cable, stop demanding apps, check for overheating, inspect the charging port, and test charging while the phone is switched off. If the percentage continues falling with known-good charging equipment, the battery or charging hardware may need inspection.
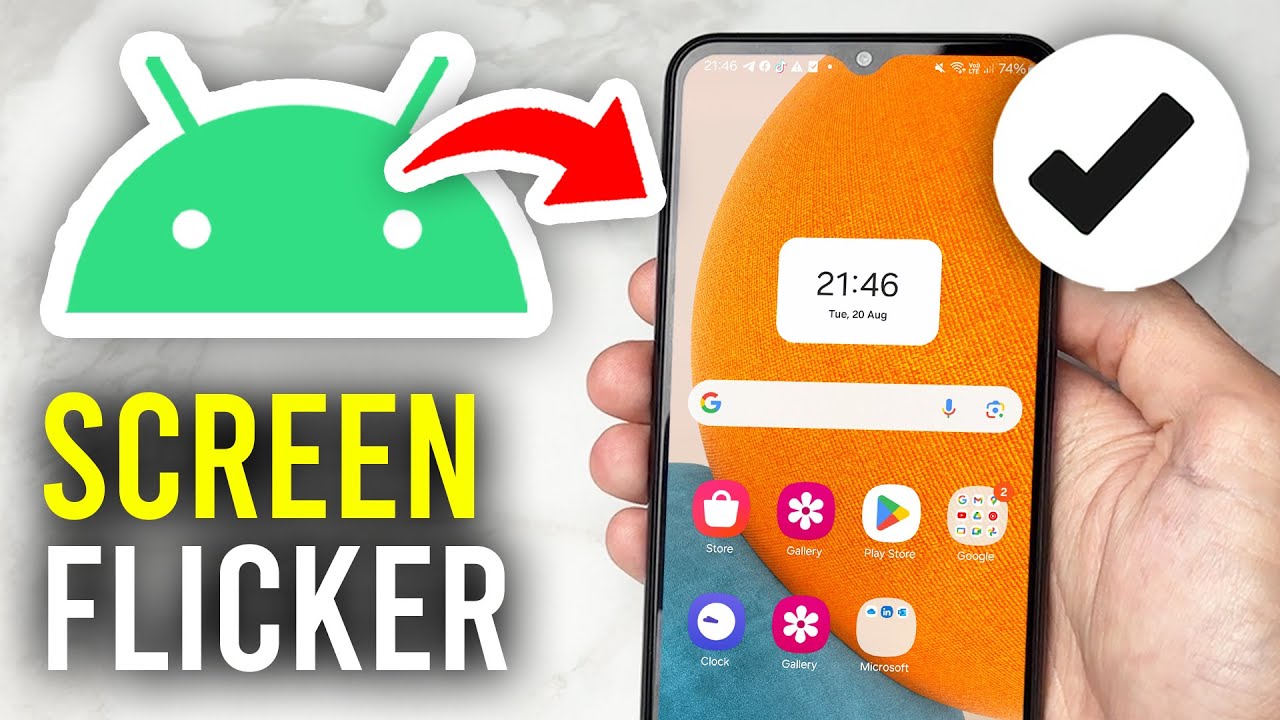
Itel A-Series Screen Flickering While Charging: Safe Troubleshooting Guide And Fix Steps
If an itel A-Series phone flickers only while charging, unplug it first and test the phone on battery power. Then try a known-good compatible charger and cable, inspect the charging port for dirt or moisture, remove accessories that may trap heat, and avoid using the phone heavily while charging. If flickering continues with different charging equipment or occurs even when the charger is disconnected, the display, charging circuit, battery, or another hardware component may need inspection.