
How to Fix WiFi Connected but No Internet on Android|qevra buzz
If your Android phone connects to WiFi but has no internet, first check whether other devices can browse on the same network. If they can, forget and reconnect to the WiFi, disable VPN, set Private DNS to Automatic, and reset network settings if necessary. If every device has no internet, restart the router and check the internet connection from your provider.
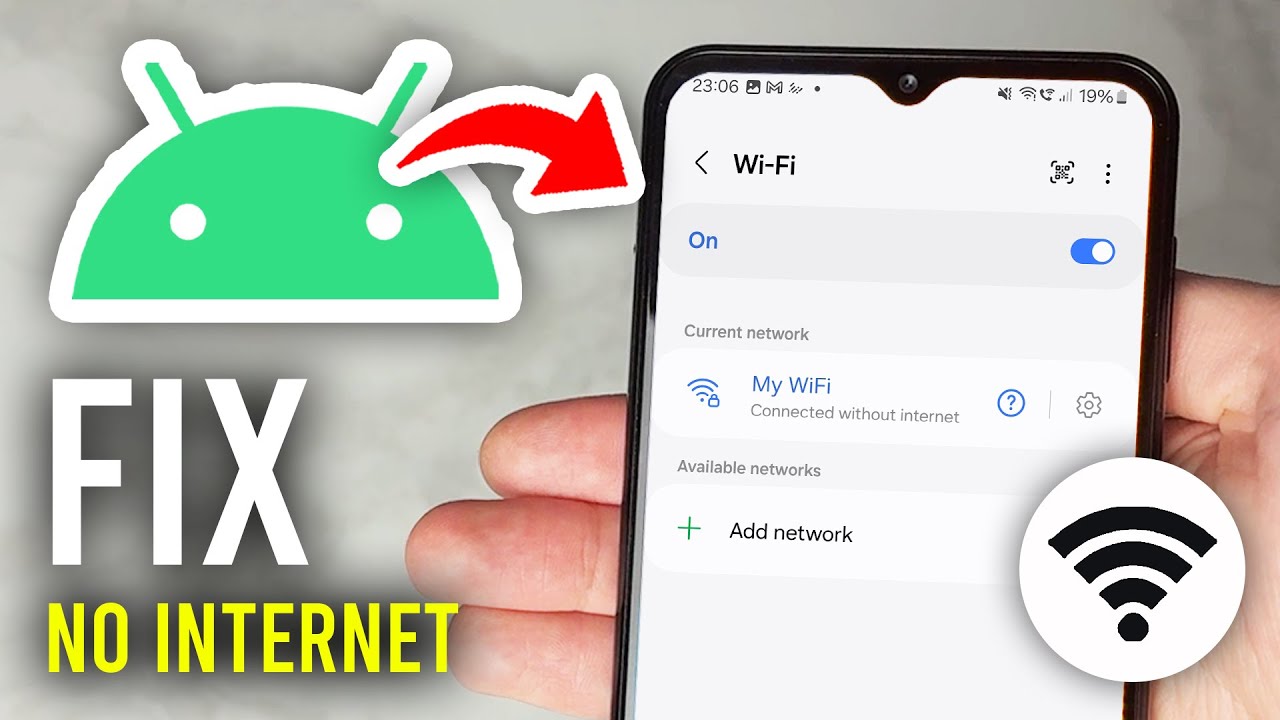
How to Fix WiFi Connected but No Internet on Android
If your Android phone says it is connected to WiFi but websites and apps are not loading, the phone has established a connection with the router but is not getting usable internet access. The quickest way to find the cause is to determine whether the problem affects only your phone or the entire WiFi network.
Check Another Device on the Same WiFi
Connect another phone or computer to the same WiFi network and open a website.
If the other device also has no internet, the problem is likely with the router, modem, ISP connection, or internet subscription.
If the other device works normally, the problem is specific to your Android phone. Continue with the steps below.
Forget and Reconnect to WiFi
Open:
Settings > WiFi/Internet > Connected WiFi network > Forget
The exact menu names vary by Android manufacturer.
After forgetting the network, select it again, enter the WiFi password, and reconnect.
This creates a new WiFi connection instead of continuing to use the phone's previously saved network configuration.
Restart Your Android Phone
Restart the phone after reconnecting to WiFi.
A temporary network process can become stuck and prevent Android from obtaining or using an internet connection correctly.
After the restart, connect to WiFi and open a website.
Turn Off VPN
If you use a VPN, disconnect it temporarily.
Go to:
Settings > Network & internet > VPN
Disconnect the active VPN and test the connection again.
If the internet works after disconnecting the VPN, the VPN connection or configuration is interfering with your internet access.
Set Private DNS to Automatic
A manually configured Private DNS provider can prevent internet access if the DNS service is unavailable.
Go to:
Settings > Network & internet > Private DNS
Select Automatic and save the setting.
The location of this option can differ between Android phones.
Reconnect to WiFi and test a website.
Restart the Router
If multiple devices connected to the WiFi cannot access the internet, restart the router.
Disconnect the router from power, wait about 30 seconds, reconnect it, and wait for the internet connection to return.
Once the router has finished reconnecting, connect your Android phone again.
Check the Router's Internet Connection
Look at the router's status lights.
If the WiFi signal is available but the internet/WAN indicator shows an error, the router may not be receiving an internet connection.
Check the router's cables and confirm that your internet subscription is active.
If the router still has no internet after restarting, the problem is outside the Android phone and may require your internet provider to restore the connection.
Reset Network Settings on Android
If other devices have internet but your Android phone still cannot browse, reset the phone's network settings.
Depending on the device, go to:
Settings > System > Reset options > Reset WiFi, mobile & Bluetooth
On some phones, the option may appear as:
Reset network settings
This removes saved WiFi networks and Bluetooth connections, so you will need to reconnect to your WiFi afterward.
Test the Phone on Another WiFi Network
Connect the Android phone to another working WiFi network.
If the phone works normally on the second network, the original WiFi router or network configuration is the likely cause.
If the phone cannot access the internet on multiple working WiFi networks, the problem is more likely related to the phone's network configuration or software.
If Only One App Has No Internet
If Chrome or another browser works but one particular app does not, the WiFi connection itself is probably working.
Check that app's permissions, update the app, force-stop it, and clear its cache.
Do not reset the entire phone's network settings when the problem affects only one application.
The Fastest Way to Find the Problem
Use these two tests:
1. Another device on the same WiFi: If it also has no internet, troubleshoot the router or internet service.
2. Your Android phone on another WiFi: If it works there, troubleshoot the original WiFi network.
These tests tell you whether the problem is with the Android phone or the WiFi network before you start changing settings unnecessarily.
Never miss a tech solution from FlamesNova
Make FlamesNova your trusted and preferred source on Google Search
All factual claims and technical steps are cited and verified against direct documentation.
Contribution: Grounding reference for verified reporting.
Contribution: Grounding reference for verified reporting.
Contribution: Grounding reference for verified reporting.
Contribution: Grounding reference for verified reporting.
Related How-To Guides
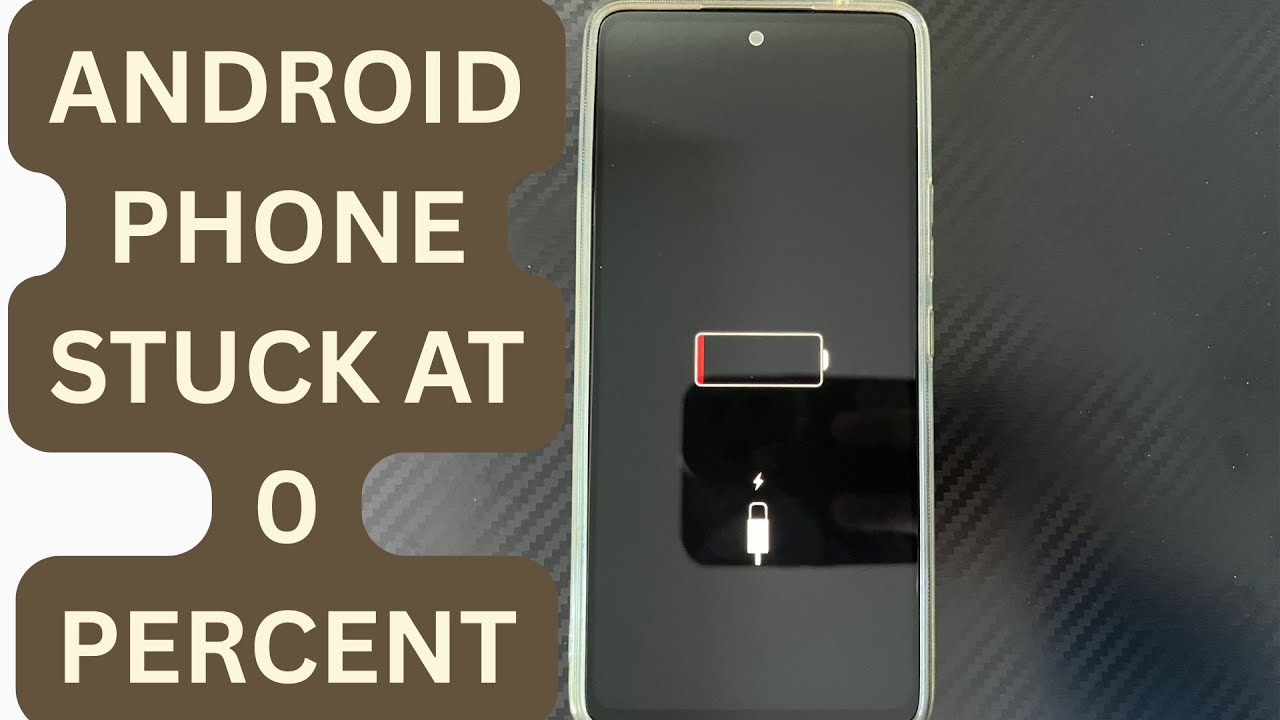
Android Phone Stuck at 0% or 1% Charging All Night: How to Fix
If an Android phone remains at 0% or 1% after charging all night, first stop repeatedly trying to power it on. Test a known-good compatible charger and cable, inspect the charging port, let the phone cool, and leave it charging while switched off. If it remains at 0% or 1%, try a forced restart. If the phone still cannot increase its battery level with known-good charging equipment, the battery, charging port, or charging circuit may require professional inspection.
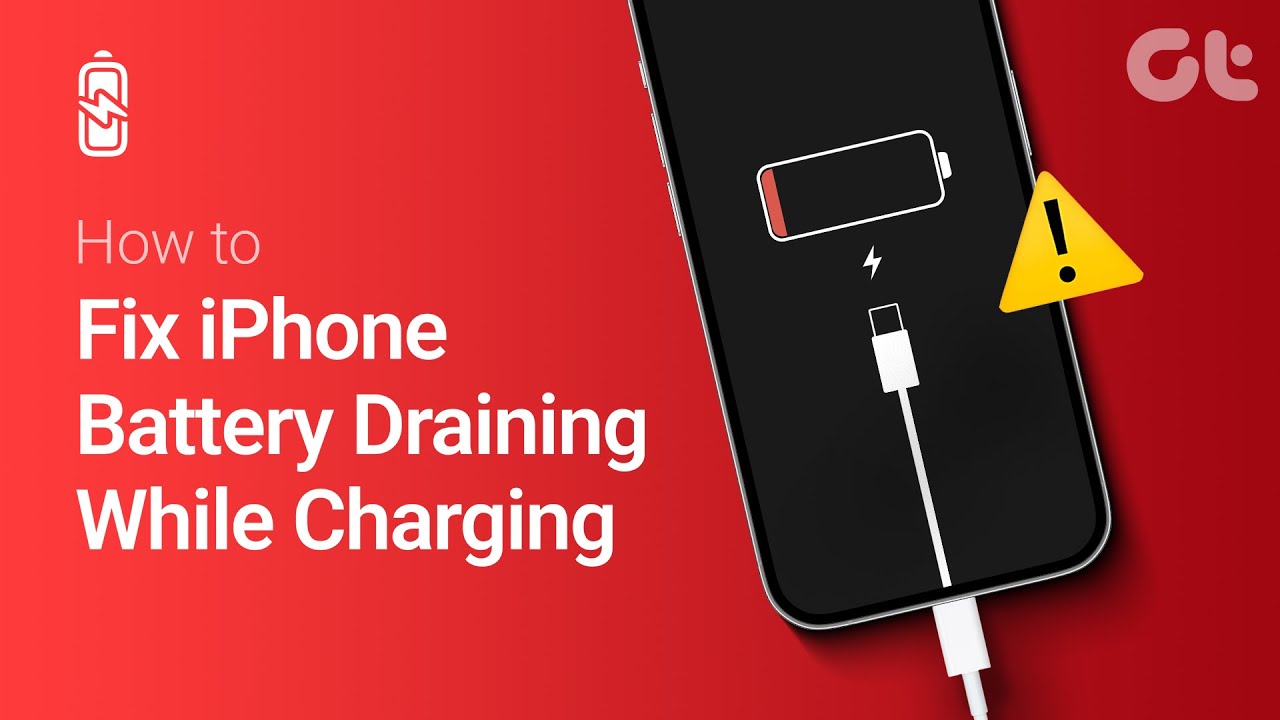
Phone Battery Percentage Dropping While Connected to Charger: 5 Direct Fixes
If your phone battery percentage keeps dropping while it is connected to a charger, the charger may be supplying less power than the phone is consuming. Test another compatible charger and cable, stop demanding apps, check for overheating, inspect the charging port, and test charging while the phone is switched off. If the percentage continues falling with known-good charging equipment, the battery or charging hardware may need inspection.
Itel A-Series Screen Flickering While Charging: Safe Troubleshooting Guide And Fix Steps
If an itel A-Series phone flickers only while charging, unplug it first and test the phone on battery power. Then try a known-good compatible charger and cable, inspect the charging port for dirt or moisture, remove accessories that may trap heat, and avoid using the phone heavily while charging. If flickering continues with different charging equipment or occurs even when the charger is disconnected, the display, charging circuit, battery, or another hardware component may need inspection.