
How to Fix a USB Flash Drive Not Showing on a Windows Computer| Full Guide| qevra buzz
If a USB flash drive is not showing in Windows File Explorer, first try another USB port and check whether Windows detects the drive in Disk Management. If it appears there without a drive letter, assign one. If it is marked Offline, bring it online. If the drive is unallocated, do not format it if you need the existing files. If Windows does not detect the drive on multiple computers, the flash drive or its USB connection may be faulty.
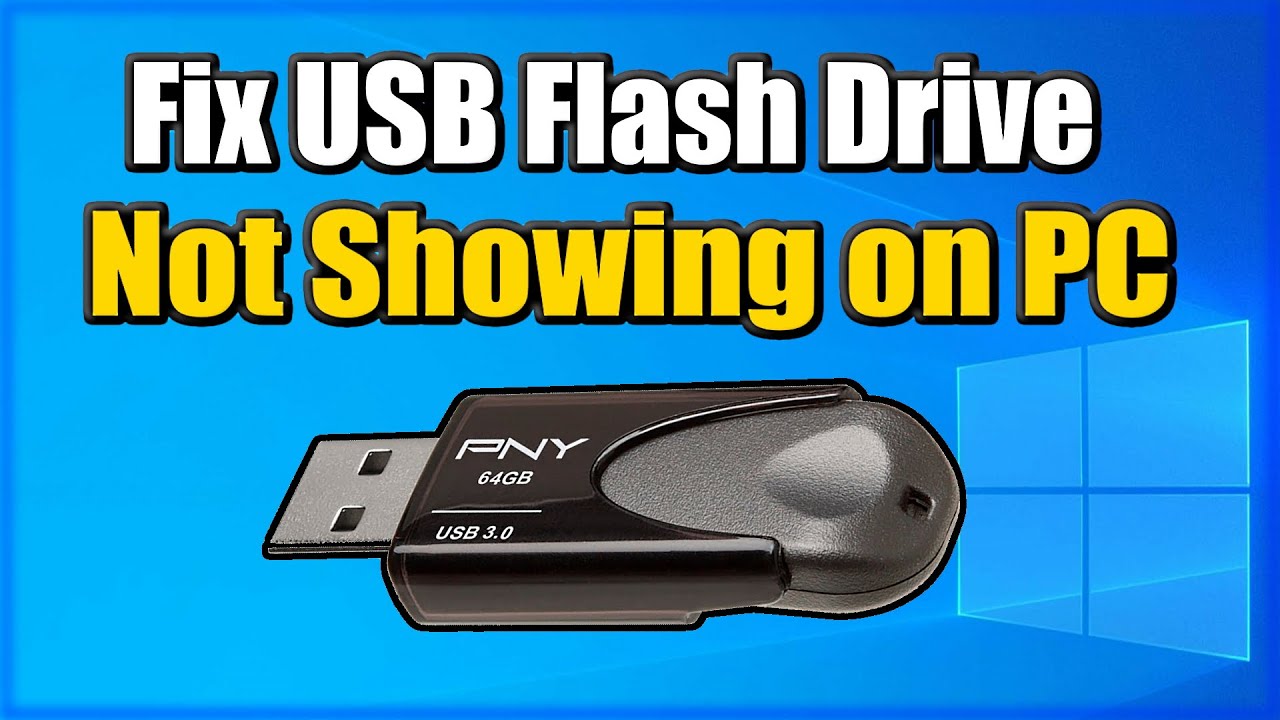
How to Fix a USB Flash Drive Not Showing on a Windows Computer
If a USB flash drive does not appear in File Explorer after you connect it to a Windows computer, the drive may still be detected by Windows but missing a drive letter. It can also be caused by a USB port problem, a corrupted partition, an offline disk, a driver problem, or a failing flash drive.
Use the steps below to identify the actual problem before formatting the drive.
1. Try Another USB Port
Remove the flash drive and connect it to another USB port on the computer.
If you are using a desktop computer, try a USB port directly connected to the computer rather than a USB hub.
Wait several seconds after connecting it and check File Explorer.
If the drive appears, the original USB port or hub was the problem.
2. Check Disk Management
If the flash drive still does not appear, check whether Windows can see the physical drive.
Press:
Windows + X > Disk Management
Look for the USB drive in the list of disks.
Compare its storage capacity with the capacity printed on the flash drive.
Do not select or format another disk by mistake.
3. Assign a Drive Letter
If the USB drive appears in Disk Management but has no drive letter, Windows may not show it in File Explorer.
Right-click the USB partition and select:
Change Drive Letter and Paths
Choose Add, select a drive letter, and confirm.
Open File Explorer and check whether the flash drive now appears.
4. Bring an Offline Drive Online
If Disk Management shows the USB drive as Offline, right-click the disk and select:
Online
Wait for Windows to update the disk status, then check File Explorer again.
Do not initialize or format the disk simply because it appears offline if the drive contains important files.
5. Check Whether the Drive Is Unallocated
Disk Management may show the USB drive as Unallocated.
If the flash drive previously contained important files, do not create a new volume or format it immediately.
Creating a new partition or formatting the drive can make file recovery more difficult.
If you do not need the old files and the drive is intended for reuse, you can create a new volume and format it through Disk Management.
6. Check Device Manager
Press:
Windows + X > Device Manager
Expand:
Disk drives
Look for the flash drive.
Also check:
Universal Serial Bus controllers
Look for a device showing an error symbol.
If Windows reports a device or driver problem, restart the computer and reconnect the flash drive.
You can also use the device's driver options in Device Manager to troubleshoot the detected hardware.
7. Restart Windows
If the drive was working previously and suddenly disappeared, restart the computer.
After Windows starts again, connect the flash drive directly to a USB port and check Disk Management.
This can restore a USB device that was not correctly initialized during the previous Windows session.
8. Test the Flash Drive on Another Computer
Connect the USB drive to another computer.
If it appears normally on another computer, the flash drive itself is probably working and the original Windows computer may have a USB, driver, or configuration problem.
If the drive is missing on multiple computers, continue testing the physical connection.
9. Check for Physical Damage
Inspect the USB connector for visible damage, bending, looseness, or contamination.
Do not force a damaged connector into the computer.
If the flash drive disconnects when it is moved, repeatedly disappears, or is not detected by multiple computers, the hardware may be failing.
10. Do Not Format a Drive That Contains Important Files
If Windows suddenly asks you to format a flash drive that contains files you need, do not immediately click Format.
The message can occur when Windows cannot correctly read the existing file system.
If the files are important, stop writing new data to the drive and consider using appropriate data-recovery assistance before attempting repairs that modify the disk.
When the Flash Drive Is Not Detected Anywhere
If the flash drive does not appear in File Explorer, Disk Management, or Device Manager on one computer, test it on another computer.
If multiple computers fail to detect the physical device, the flash drive itself may have failed.
Software settings cannot reliably fix a USB drive that is no longer being detected as hardware.
Final Check
The most important step is checking Disk Management.
If Windows detects the drive there, the problem may be a missing drive letter, an offline disk, or a damaged partition.
If the drive contains important files, avoid formatting, initializing, or creating a new volume until you have considered data recovery.
If Windows does not detect the flash drive on multiple computers, investigate the physical drive rather than repeatedly changing Windows settings.
Never miss a tech solution from FlamesNova
Make FlamesNova your trusted and preferred source on Google Search
All factual claims and technical steps are cited and verified against direct documentation.
Contribution: Operating system peripheral detection patterns and mass storage driver behavior.
Contribution: Hardware telemetry regarding bus power negotiation and Disk Management volume status.
Related How-To Guides
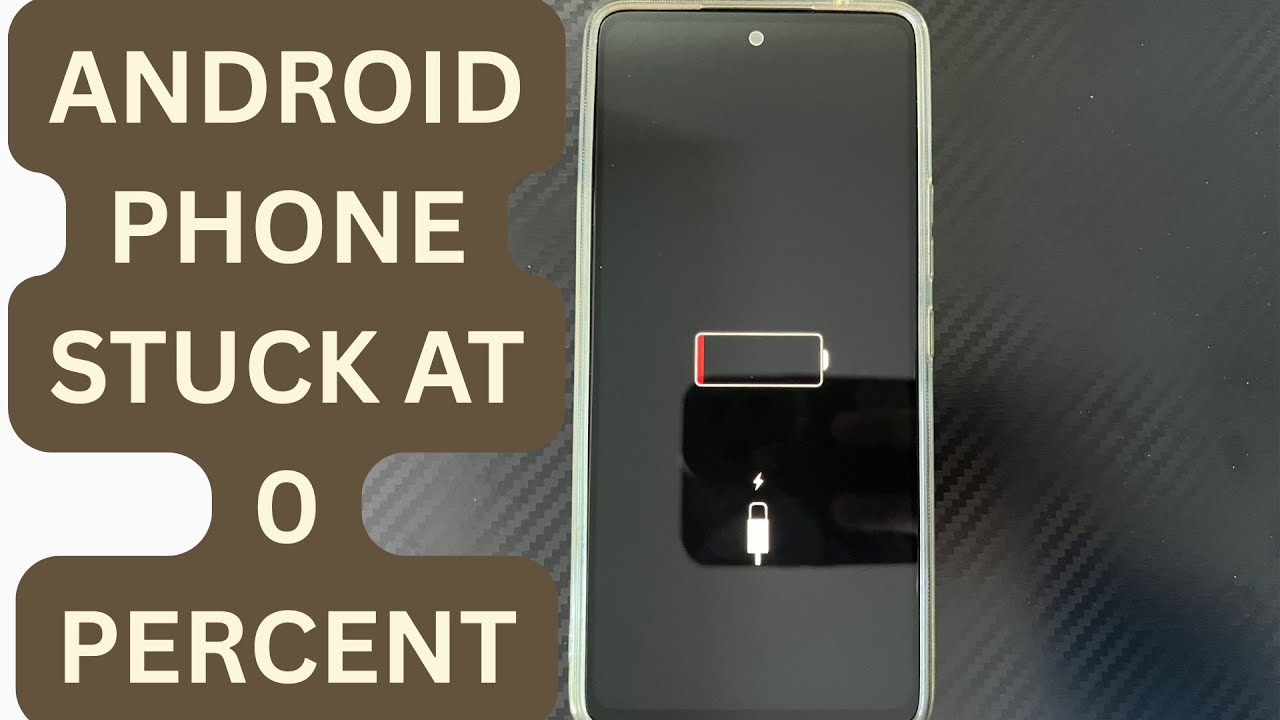
Android Phone Stuck at 0% or 1% Charging All Night: How to Fix
If an Android phone remains at 0% or 1% after charging all night, first stop repeatedly trying to power it on. Test a known-good compatible charger and cable, inspect the charging port, let the phone cool, and leave it charging while switched off. If it remains at 0% or 1%, try a forced restart. If the phone still cannot increase its battery level with known-good charging equipment, the battery, charging port, or charging circuit may require professional inspection.
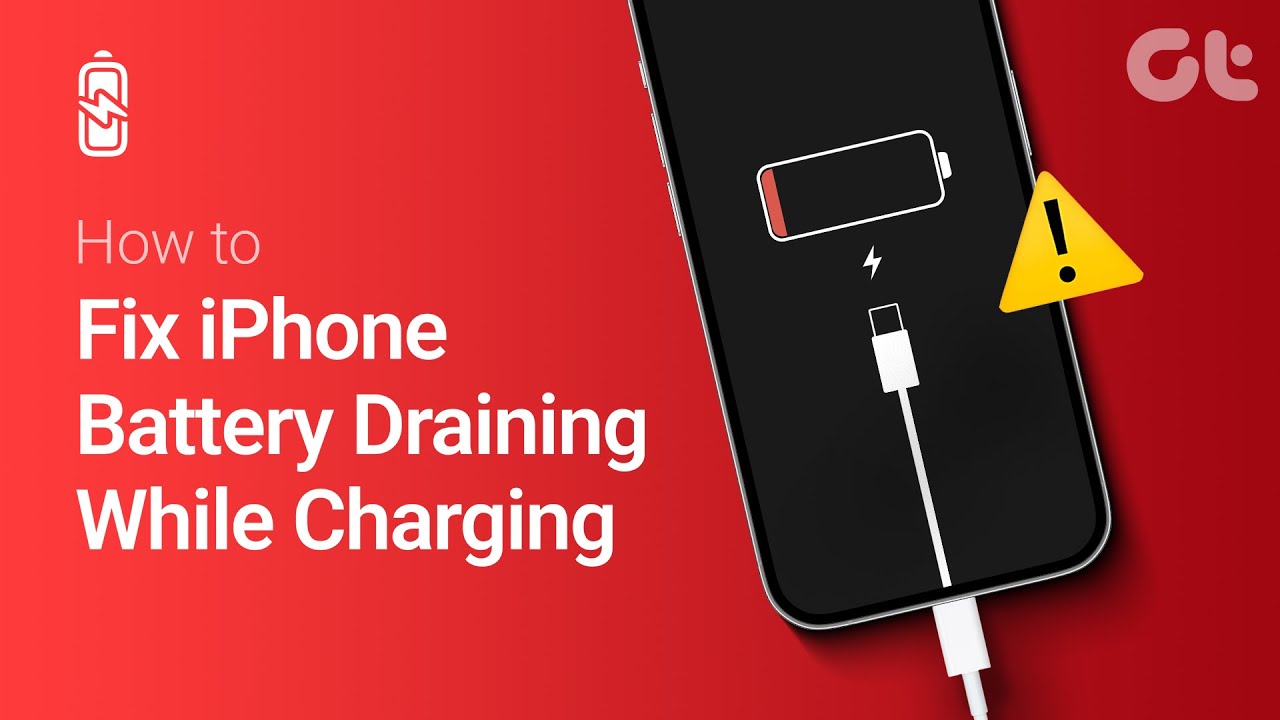
Phone Battery Percentage Dropping While Connected to Charger: 5 Direct Fixes
If your phone battery percentage keeps dropping while it is connected to a charger, the charger may be supplying less power than the phone is consuming. Test another compatible charger and cable, stop demanding apps, check for overheating, inspect the charging port, and test charging while the phone is switched off. If the percentage continues falling with known-good charging equipment, the battery or charging hardware may need inspection.
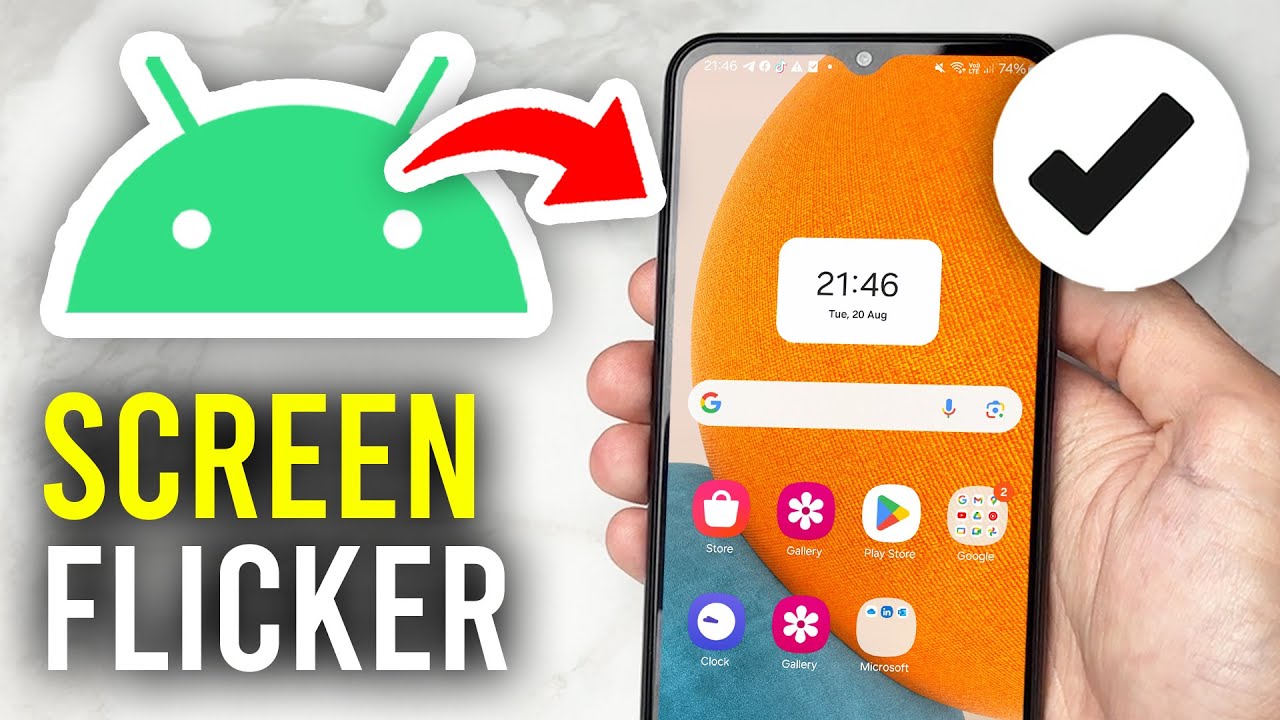
Itel A-Series Screen Flickering While Charging: Safe Troubleshooting Guide And Fix Steps
If an itel A-Series phone flickers only while charging, unplug it first and test the phone on battery power. Then try a known-good compatible charger and cable, inspect the charging port for dirt or moisture, remove accessories that may trap heat, and avoid using the phone heavily while charging. If flickering continues with different charging equipment or occurs even when the charger is disconnected, the display, charging circuit, battery, or another hardware component may need inspection.